If you want to upgrade the look of your home without spending a fortune, nickel gap boards are one of the best choices you can make. These wall panels create a clean, modern look with a subtle groove between each board — that small gap is what gives them their name. Whether you are renovating a living room, a bedroom, or even a hallway, this style adds texture and character without feeling overdone. Homeowners across the country are choosing this option because it blends classic craftsmanship with contemporary design. This article covers everything you need to know — from design ideas and benefits to installation tips and top brands.

Home Decor and Interior Design
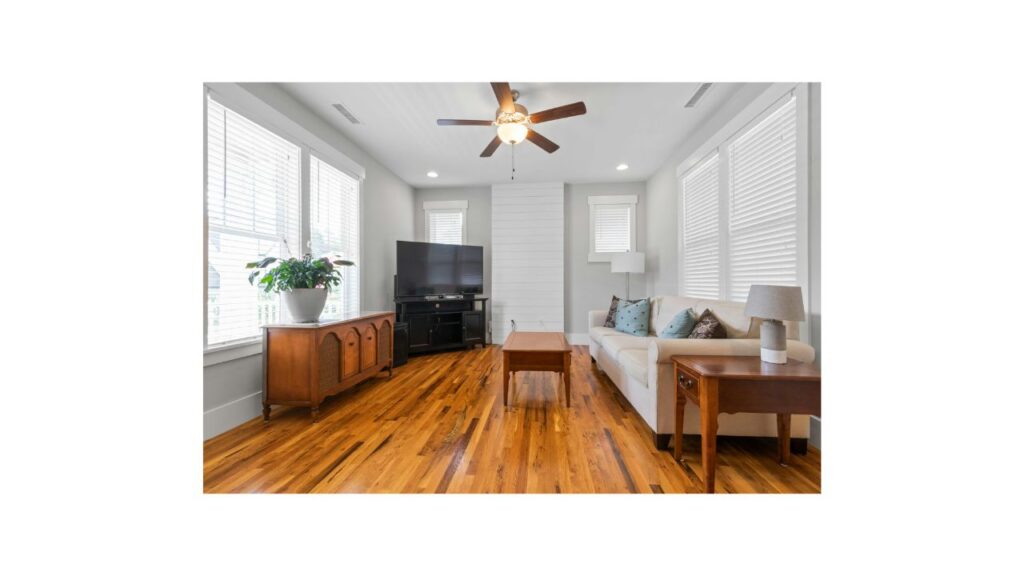
Living Rooms and Open-Plan Spaces
This type of wall treatment is most popular to begin with the living room and with reason. The accent wall behind a sofa creates focus. Panels divide open spaces visually. Paint them white for a Scandinavian look. Warm greige gives a transitional feel. Paneled walls pair well with wood furniture. Linen cushions and matte black hardware add polish. The result feels professionally designed. Horizontal lines draw the eye outward. Small rooms appear wider and more open.
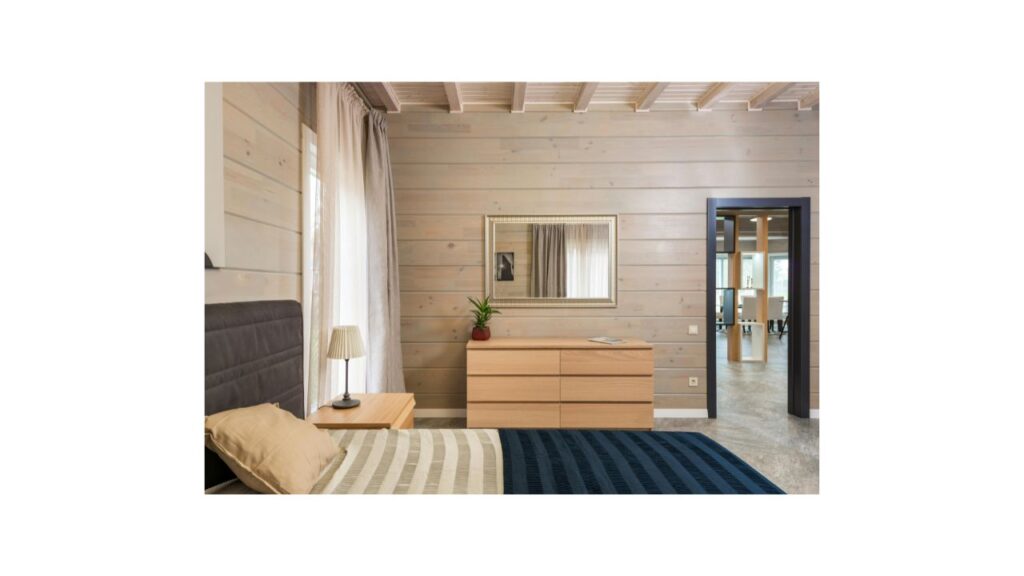
Bedroom Feature Walls
Run these boards behind the bed to create a headboard wall that gives the bedroom a luxurious hotel look no painted drywall can match. The texture provides the room with depth and warmth, yet does not saturate the room with patterning and colour. Leave boards the same color for a tonal effect. Paint them contrasting to highlight the bed. Wide planks suit large master bedrooms. Narrow boards fit smaller guest rooms. It is among the simplest methods to transform the bedroom into something purposefully created as opposed to being merely furnished.

Room-Specific Applications of Nickel Gap Boards
Home Office and Study Spaces
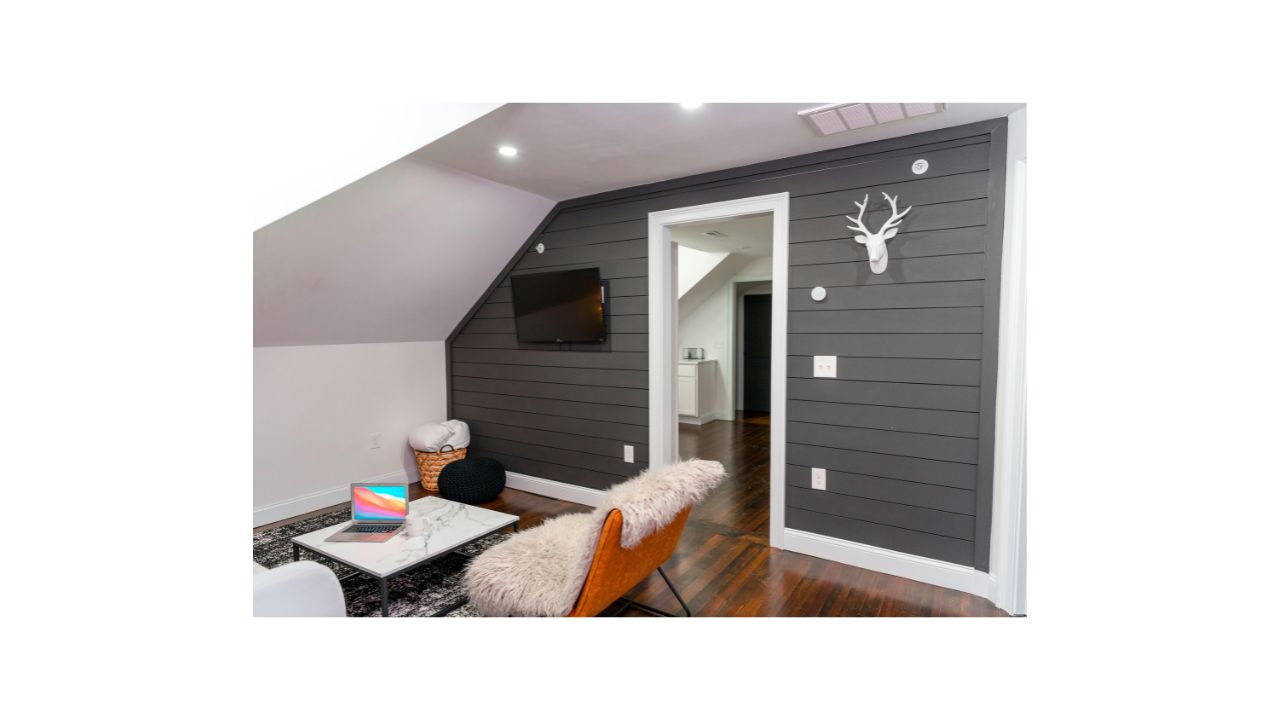
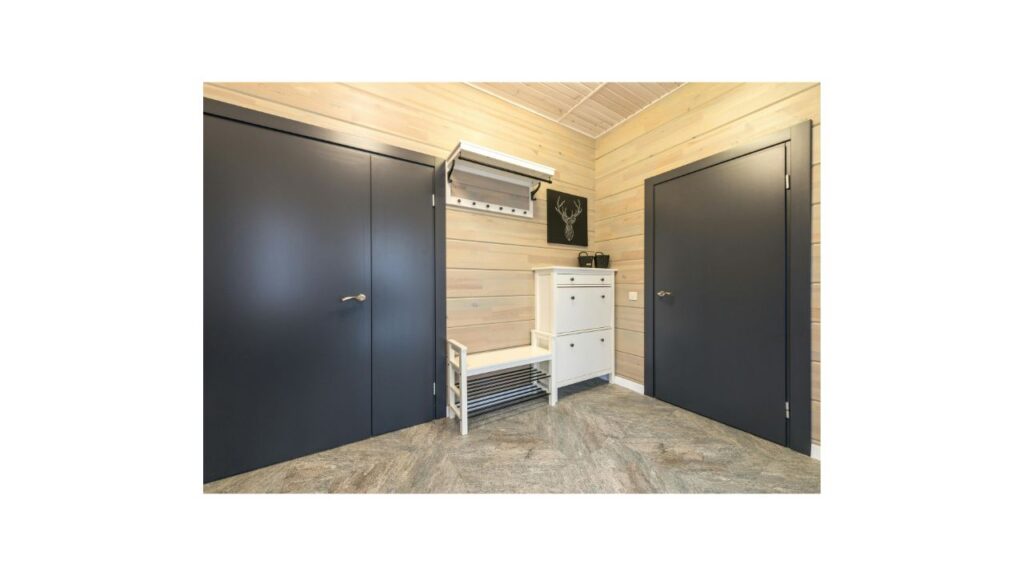
Paneled walls in a home office are an instant signal of professionalism and deliberateness, which is more crucial than ever as remote work is becoming a part of our everyday existence. The paneling provides an elegant background to video calls that seems much more attractive than the plain white wall or an untidy bookshelf. The boards can be installed on the wall behind your desk or monitor to create a very strong and anchored focal point. Darker colors such as navy, forest green or charcoal are especially effective in home offices since they put less eye strain and allow an office to have a distraction free environment. An alternative to custom millwork is to pair the panels with built-in shelving in the same finish to give them the appearance of a custom, built-in.
Basement and Media Room Installations
Basements are usually characterized by low ceiling, inadequate light and cold unfinished atmosphere making them unpleasant to be in. The solution to all these problems, paneled walls, provides a warm, textured and visual elevation to the space. Dark panels reduce glare in media rooms. Tongue-and-groove construction adds insulation and sound damping. This benefits basement spaces greatly. Vertical grain panels make low ceilings appear taller.
Small Details That Make a Big Difference
Gap Consistency and Spacing Precision
Keep the distance between boards exactly the same throughout. Even a one-millimeter difference shows clearly after painting. Use a spacer tool or a nickel coin to ensure identical reveals on all boards. Keep an eye on your spacing and not to leave it till the end of a wall and realise you missed something. This added time in the installation process will save you the hassle of removing boards and re- installing. Treat these walls cleanly and uniformly. Keep the finish consistent throughout with no compromise.
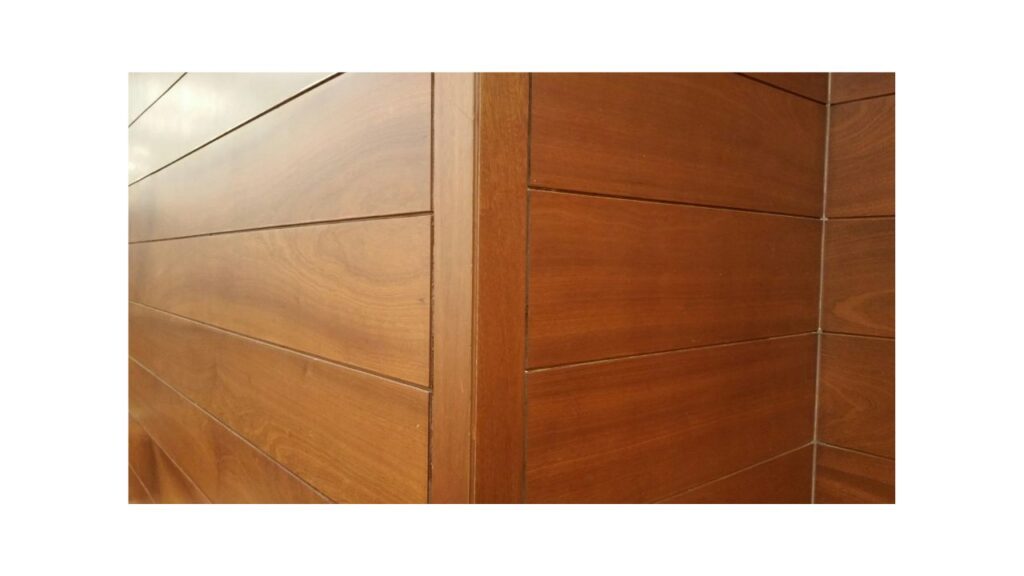
Corner Finishing and Edge Detailing
At the junction of the boards at the inside and outside corners, the finishing technique can make the installation appear either a professional or amateur installation. Use simple butt joints for inside corners. Miter outside corners or add a corner trim piece for a clean finish. Carefully scribe window and door casings to fit against existing trim without gaps or steps. Painting the edges with a quality caulk prior to the paint work will cover any cracks on the edges and will make the installation look like it is part of the building. These finishing touches take more time, but they separate a truly polished result from an amateur weekend project.
Nickel Gap Boards Paneling Material and Finish Options
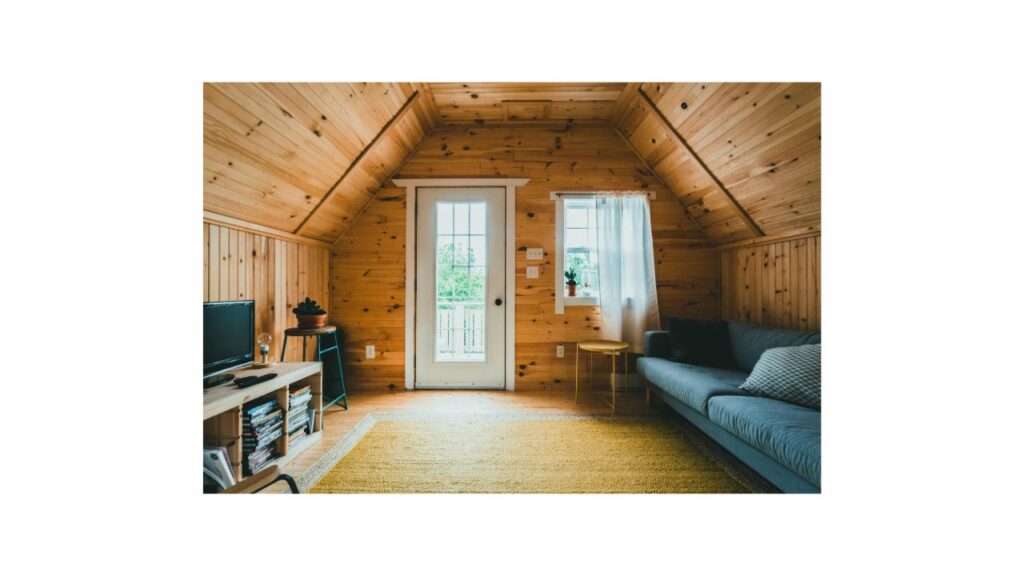
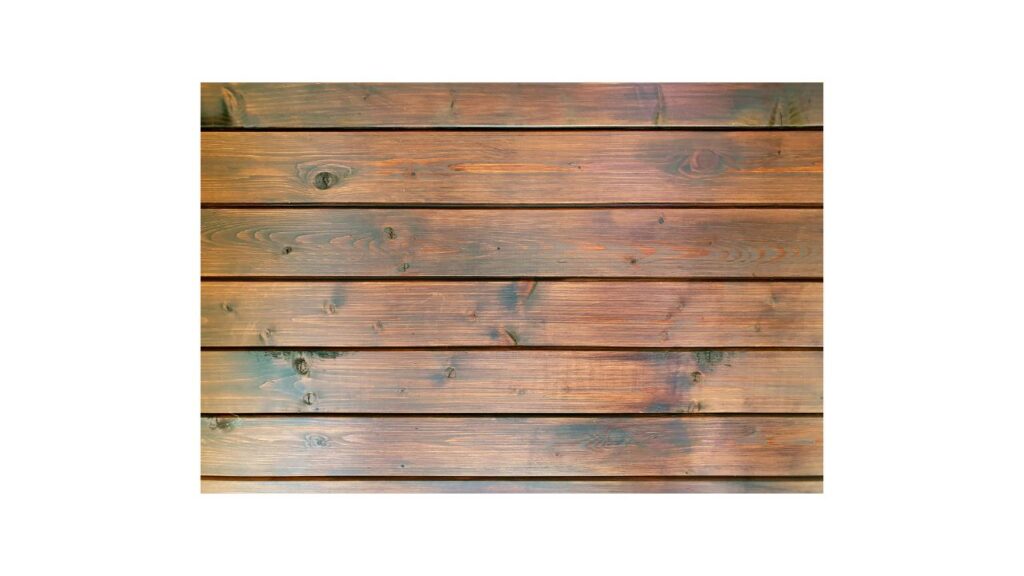
Manufacturers make this paneling from a variety of materials, each with its own advantages. MDF costs the least and accepts paint without visible marks, making it a popular choice for interior accent walls. Natural grain variation on real wood selections such as pine, cedar and oak provides a beautiful look in rustic or transitional areas. Use PVC and composite panels in moisture-prone areas like bathrooms and cellars, where wood may warp over time. Pre-primed boards save much time in the process of installation as they do not require sanding and priming. Always choose your material based on the installation location and the humidity levels the space typically experiences.
Nickel Gap Ceiling Installation A Design Trend Worth Trying
This gap ceiling makes an otherwise simple room appear as a room that was tailor-made. Install these panels overhead to add height, texture, and architectural interest that drywall cannot achieve. This is particularly effective in rooms that are more elevated, where the horizontal lines have a dramatic effect of length and movement. Paint a paneled ceiling white to create a light and airy feel. Stain it a warm wood tone to add richness and warmth to the room. Before embarking on the project, always ensure that your ceiling joists are capable of taking the additional weight.
Top Brands and Their Features:
| Brand | Material Options | Pre-Primed | Moisture Resistant | Best For |
| Metrie | MDF, Real Wood | Yes | No | Interior accent walls |
| Trusscore | PVC | No | Yes | Bathrooms, garages |
| WindsorONE | Pine, Primed Wood | Yes | No | Farmhouse interiors |
| James Hardie | Fiber Cement | Yes | Yes | Exterior and wet areas |
| Stikwood | Real Wood, Peel & Stick | No | Partial | DIY accent walls |
Installation Tips for a Professional Finish:
The basis of a great installation is good preparation. Before you cut a single piece of board, find all the wall studs and mark them with a distinctive mark. Acclimate your panels in the room for at least 48 hours before installation. This allows them to adjust to the humidity level and prevents expansion or contraction after installation. Keep the level at all times – a little inclination spreads through many boards, and is quite obvious. Beginning with the lower part of the wall, and upwards, with a spacer keeping the gap between boards the same at all points. Push the nail through the tongue where it can so as to leave your face clean. Fill all visible nail holes with wood filler, sand them smooth, then apply two coats of paint for the cleanest finish.
Final Thought:
Nickel gap boards provide a unique blend of style, versatility and comparatively easy installation that can hardly be matched by other wall treatments. Be it a single accented wall or an entire room, a utility area, or a ceiling, the outcome is always purposeful and well-designed. It is possible to turn any commonplace area into something that feels like it was tailor-made and thoughtful with the right stuff, attention to detail and some patience in the installation process. Begin with a single wall, observe how it transforms the room and you will most probably wish to apply them all over the house.
FAQs:
1: Is it possible to install nickel gap boards on top of existing drywall?
Yes, they can be installed over drywall but you need to nail through the studs which are behind it to hold them.
2: What do I do to keep the gap the same along a long wall?
Place a nickel or a special spacer tool between the boards when installing. Alignment of checks after every three to four boards with a level.
3: Can these boards be used in a bathroom?
Yes, however, either use PVC or waterproof MDF boards and make sure that all edges are sealed to avoid water intrusion.
4: Will they be able to be installed on a ceiling by me without a professional?
It can be done by DIYers, but requires a helper, the appropriate tools, and robust ceiling joists. It is more challenging than wall installation.
5: What paint finish do these panels work best?
They should be either satin or semi-gloss. They are less difficult to clean and to emphasize the texture of the panel, without appearing too shiny.