The Kenmore 110.7613244124 is not just any house appliance, it is a stable workhorse that with a little bit of attention and knowledge can last your family 10-15 years. This is a complete guide that makes all the information you need to know about your Kenmore dryer easy to understand in small steps. You are either troubleshooting a problem at 10 PM or you are planning routine maintenance and with this guide, you can perform every process step-by-step and understand it.
What is Kenmore 110.761324412?
The specific example of a dryer that fits in the category of 110 series is Kenmore 110.761324412. This appliance’s model number is your literal appliance fingerprint, which establishes its factory construction, size of the drum, motor types and its available cycle selection.
Key Features at a Glance
- Drum Capacity: 6.5 -7.4 cubic feet (Depends on kind of particular version)
- Series: Kenmore 110 (may include Elite features)
- Primary Function: Clothes dryer electric or gas.
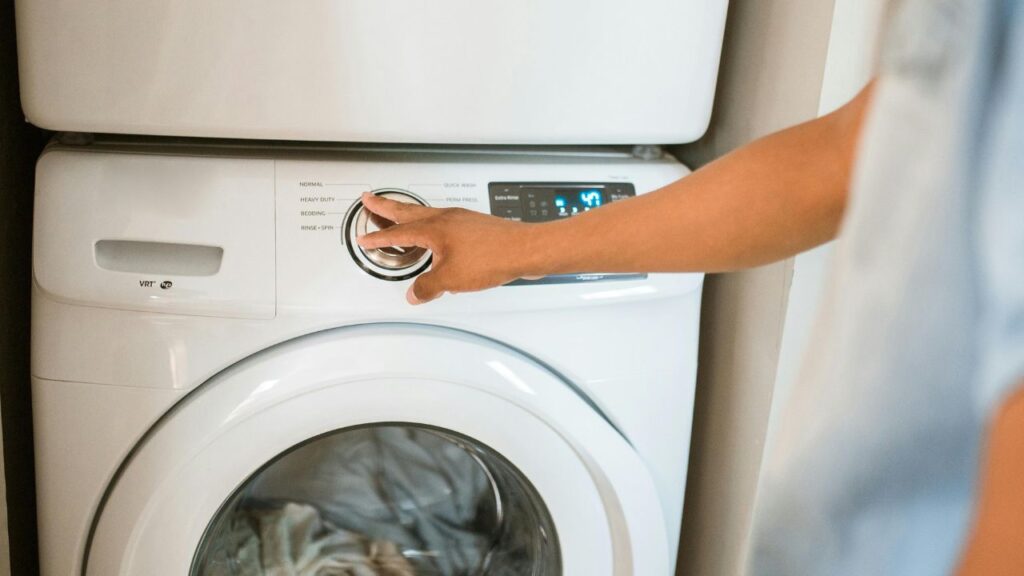
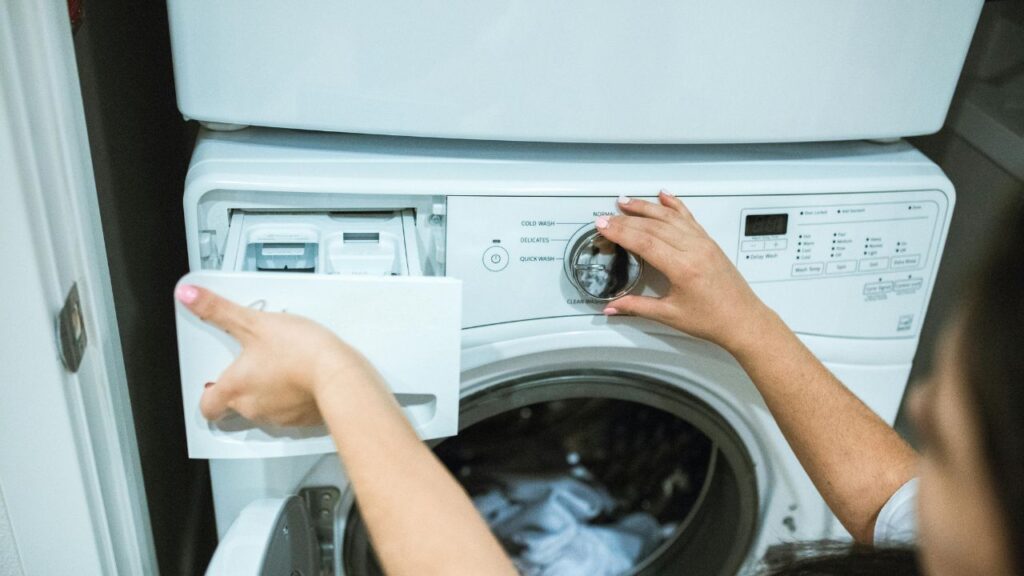
- Control Type: Dial or digital control panel
- Special Cycles: There are various heat cycles, dry cycles and auto dry
- Safety Features: Overheat sensors and Thermal Fuse
Common Problems and Simple Fixes
Problem 1: Dryer Won’t Start
Symptoms: Press of start button non responsive, no lights, no sound whatsoever.
Quick Fixes:
- Check that the door is fully locked and closed.
- Make sure that the circuit breaker is not tripped.
- Ensure that the power is firmly attached.
- Test wall socket with other appliances.
- Problem 2: Dryer Is Running Pricey and Not Heating-Up.
Problem 2: Dryer Runs But Doesn’t Heat
Symptoms: Drum has normal turning, and after the complete rotation, clothes are still wet
Quick Fixes:
- Wipe the lint screen with a rag.
- Assess the external vent violations.
- Make sure that you have chosen a heat option (not air-dry)
- Test the continuity of a thermal fuse.
Problem 3: Unusual Noises During Operation
Symptoms: Squeaking, banging, grinding or rattling
Quick Fixes:
- Check for foreign objects in the drum or lint trap
- Inspect drum rollers for wear
- Check the drive belt whether cracked or not.
- Make sure that the dryer is secured on the four feet.
Problem 4: Extended Drying Times
Symptoms: The clothes need several cycles to dry out.
Quick Fixes:
- Wipe lint tube prior to each filling.
- Checking and cleaning vent ductwork.
- Verify the outside vent flap opens freely
- Reduce load size (overloading reduces efficiency)
Problem 5: Drum Won’t Turn
Symptoms: Motor runs but drum stays still
Quick Fixes:
- The drive belt has likely broken or slipped off
- Check for jammed items preventing drum rotation
- Inspect the motor pulley for damage

Step-by-Step Troubleshooting Guide
Step 1: Identify the Problem
Before opening any panel, make sure you know what is going on:
- Record the precise symptoms.
- Record time when a problem happens (beginning of cycle, middle of cycle etc.)
- Check display (when present) error codes.
- Listen to the strange sounds.
Step 2: Perform Basic Checks (5 Minutes)
- Check power supply: Include an outlet allowing powering on a lamp or phone charger.
- Inspect the door latch: The door latch should be tight to the point of clicking
- Wipe the lint plug: Clean the lint, although you may just have done so.
- Restarting the machine: Unplug it and plug it again after 1minute.
- Check circuit breaker: Check the existence of two circuit breakers (two breakers on 240 V dryers)
Step 3: Access Internal Components (If Needed)
Safety First: When opening a panel it is always advisable to unplug the dryer.
To Access the Front Panel:
- Erase screws at the corners of the front panel.
- Pull up the top panel (it usually folds at the back),
- Unscrew wire harnesses on door switch.
- Lift front panel up and away
To Access the Back Panel:
- Move dryer away from wall
- Eliminate screws in the periphery of the back panel.
- Cautiously cut out the panel to expose the motor, blower and heating components.
Step 4: Inspect the Drive Belt
- With front or top panel removed, locate the drive belt around the drum
- Check for these issues:
- Cracks or fraying along the belt surface
- Belt completely broken or separated
- Belt slipped off the motor pulley or idler pulley
- Excessive slack in the belt
If belt needs replacement: Proceed to the Parts Replacement section below
Step 5: Examine Heating Elements
For Electric Dryers:
- Locate the heating element housing (cylindrical metal box)
- Visually inspect for breaks in the coil (you may see a gap)
- Test with multimeter for continuity
- Replace if broken or showing no continuity
Step 6: Check Drum Rollers and Glides
- Spin the drum manually
- Listen for grinding or resistance
- Inspect rollers for flat spots or worn surfaces
- Check drum glides (felt strips) for excessive wear
- Replace worn components in sets for balanced operation
Where to Buy Kenmore 110.761324412 Parts
Method 1: Online Search
- Go to SearsPartsDirect.com or Kenmore’s website
- Open the section “Manuals” or “Product Support.
- Please type in your model number: 110.761324412.
Method 2: Contact Manufacturer
- Sears customer service: 1-800-4-MY-HOME.
- Give your model number and serial number.
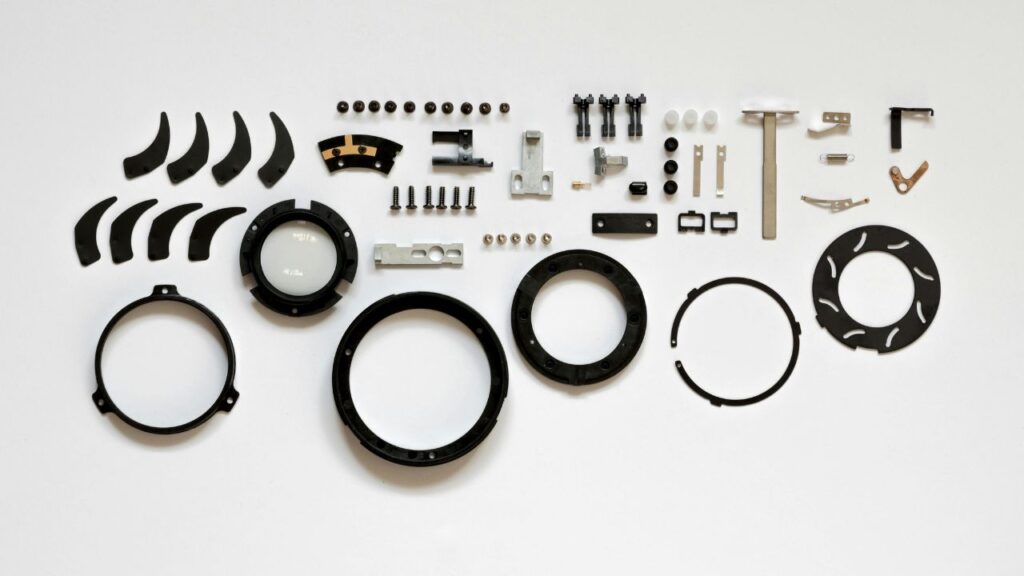
Most Commonly Needed Parts
| Part Name | Average Price Range | OEM vs Aftermarket Difference | Replacement Difficulty |
| Drive Belt | $8-$25 | OEM lasts longer | Easy (DIY friendly) |
| Thermal Fuse | $5-$15 | Minimal difference | Easy (DIY friendly) |
| Drum Rollers (set) | $20-$50 | OEM recommended | Moderate |
| Heating Element | $25-$75 | OEM recommended | Moderate |
| Motor Pulley | $10-$30 | OEM recommended | Moderate |
| Idler Pulley | $15-$35 | Minimal difference | Easy to Moderate |
| Door Latch/Strike | $10-$25 | Minimal difference | Easy (DIY friendly) |
| Lint Filter | $8-$20 | Minimal difference | Very Easy |
| Drum Glides (set) | $10-$25 | Minimal difference | Moderate |
| Thermostat | $15-$40 | OEM recommended | Moderate |
Tips for Ordering Parts
- Always verify: Enter your complete model number (110.761324412) before ordering
- Check diagrams: Use exploded view diagrams to confirm part location
- Read reviews: Check customer reviews for aftermarket parts quality
- Compare prices: Comparable OEM parts may differ by as much as $ 10-30 among retailers.
- Save receipts: Store all receipts of returns or warranty.
- Order extras: Think about ordering extras thermal fuses (they are cheap and tend to malfunction)
- Shipping time: Shipping time should be considered when choosing between the online stores and local stores.
Local Options
- Local appliance repair shops: Often stock common Kenmore parts, no shipping wait
- Marcone Appliance Parts: Professional distributor with same-day pickup at locations
- Lowe’s/Home Depot: Limited selection but immediate availability for common items
Maintenance and Care Tips
Weekly Maintenance (Takes 5 Minutes)
- Dryer vacuum: Removal of the lint at the base and behind the unit.
- Wipe down exterior: Wipe with light detergent and damp cloth.
- Check door seal: Search cracks, tears or loose areas
- Inspect lint trap housing: Vacuum clean lint tap housing
Monthly Maintenance (Takes 15-20 Minutes)
- Deep clean lint trap:
- Remove trap
- Hot water and dish soap.
- Wipe with gently bristled brush to take off softener deposits on fabric.
- Wipe under running water and dry.
- Clean interior drum:
- Blot with wet cloth and low detergent.
- Remove any residue or stains
- Leave door open to air dry
- Run vinegar cycle:
- Run empty cycle with damp towel
- Dry towel with 1/2 cup white vinegar.
- Use medium heat for 10 minutes
- This removes odors and residue
Energy Use and Efficiency
Kenmore 110.761324412 normally consumes 2-5 kilowatt-hours (kWh) of a load, which varies depending on:
- Load size and fabric type
- Heat setting selected
- Vent system efficiency
- Age and condition of heating elements
When to Repair and When to Replace
The decision on whether to get a new or do a repair on your kenmore 110.761324412 is based on a number of practical considerations such as age, cost of repairing, and general state. In general, when the cost of repair is greater than one half the cost of a similar new appliance then replacement is more financially reasonable. Almost any type of simple repair, such as replacing a belt, cleaning, changing a thermostat, etc, is a good thing to do in spite of appliance age. However, major repairs such as those related to the motor, the drum assembly, or control board should be analyzed in terms of cost. The average life of most appliances is ten to fifteen years under the right conditions and hence consideration of the remaining anticipated life must be considered during the decision to repair.
Replace If:
- Cost exceeds 50% of replacement
- Dryer is over 12 years old
- There have been several huge failures that have taken place in the recent past.
- Safety issues exist (electrical problems, gas leaks)
- Efficiency upgrade would pay for itself quickly

Buying Tips and What to Look For
If You Decide to Buy a Replacement
1: Determine Your Needs
- Measure space (width, depth, height, door clearance)
- separate must-have features and nice-to-have features.
2: Research Models
- Capacity: Capacity: 7.0+ cu ft where there are families, 4.5-6.5 cu ft where there are couples/singles.
- Energy Efficiency: Find Energy Star certification.
- Sensor Technology: Humidity sensors eliminate excessive drying
- Drum Material: Stainless steel is also a longer-lasting material than coated steel.
- Warranty: 1 year minimum parts/labor, extended on important components.
3: Compare Similar Models
- Name 3-5 of your price models.
- Compare capacity, features, energy use, warranty
- Reviews on retailer websites of checks.
- Look for common failure points mentioned repeatedly
Step 4: Negotiate and Purchase
- Get quotes from multiple retailers
- Ask about price matching policies
- Request haul-away of old appliance
- Confirm warranty coverage details
- Get everything in writing before purchase

Conclusion
Your Kenmore 110.761324412 is a huge investment that when well maintained and used wisely can be of service to your household over a long period of time. This step by step tutorial has prepared you with:
- Clear troubleshooting processes to diagnose problems
- Detailed replacement instructions for common repairs
- Maintenance schedules to prevent failures
- Decision frameworks for repair vs. replace choices
- Resources for finding parts and information
It is always the most expensive repair that would otherwise have been prevented by performing routine repairs. Clean the lint tab at the end of each load, check your vent system after every quarter and fix the minor issues before they turn into major problems.
Having known your Kenmore 110.761324412, you will be in a position to make a good decision on whether you really want to do the repairs yourself, or to enlist the assistance of other firms and, therefore, to save money and extend the life of your appliance.
Frequently Asked Questions
1. What is the cubic foot of the Kenmore dryer model 110?
Kenmore 110 series has a typical capacity of between 6.5 and 7.4 cubic feet and each model has individual variations in terms of capacity. A specific look at the capacity of your unit can be made with respect to the specification label on your Kenmore 110.761324412 or consult the owner manual.
2. What is the expected service life of a Kenmore Elite dryer?
A Kenmore Elite dryer has a lifespan of 10 to 15 years when it is well maintained and kept. Frequent usage may cut the life to 8-10 years and moderate usage with good care may result in 17-20 years.
3. What is the model number of my Kenmore dryer?
Most Kenmore models (depending on model) incorporate the model number either on the inside of the frame of the door in the dryer (most commonly) or on the back panel of the device or on the upper front edge when the door is open.
4. What is the frequency of replacement of the drive belt of my Kenmore 110.761324412?
The life cycle of drive belts is 5-10 years sensing rate of use and the size of loads. Should the belt start cracking, fraying or the dryer drum is not turning when the motor is running, change it. You do not have to replace it at the right time, when it becomes tired or useless.
5. Would I clean my dryer vent or do I require a professional?
The cleaning of your dryer vent can also be done very easily with the help of basic tools: a vacuum cleaner with a hose hook and a flexible dryer vent cleaner (loose) (the later costs 15-25 in a hardware store).